


Step-by-step · DIY
Build a Timber Deck
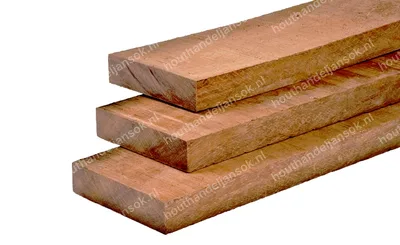
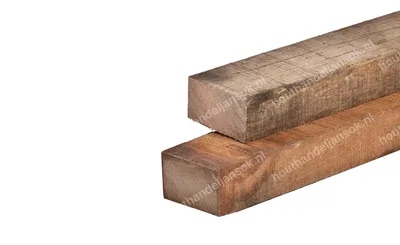
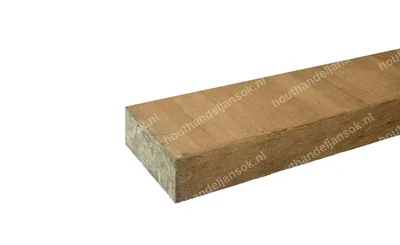
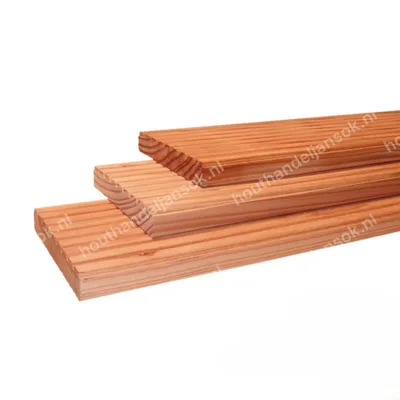
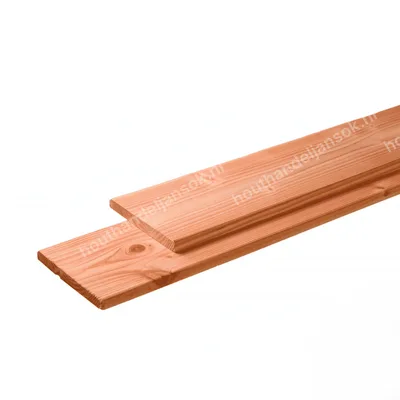
Building a timber deck pays off for years when the substructure is right. Allow one to two weekends with two people for 20 m². Hardwood, Douglas fir or composite: we supply the boards, joists and fixings, and are happy to calculate it for you.
Materials required
Order everything you need directly from our range.
Step-by-step guide
Start with design and material choice before you order boards.
0
Design, permits and material choice
First decide on function and location: seating area by the house, lounge corner further out, or a path to the shed. Measure length × width and draw the shape to scale — including connections to doors, steps and existing paving.
Permits: a freestanding deck at ground level is usually permit-free. If you build a raised deck (> 1 m) or a structure that counts as a building, check the Omgevingsloket. With a homeowners' association or leasehold: get approval before you order.
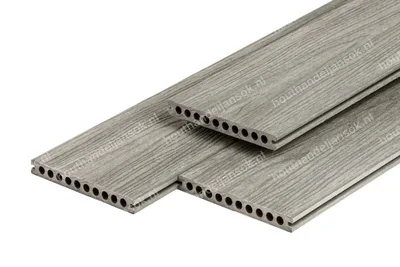
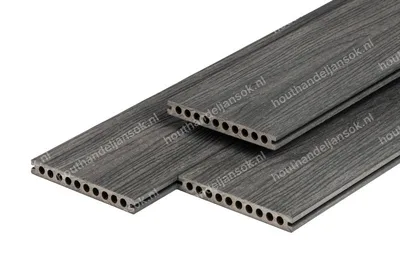
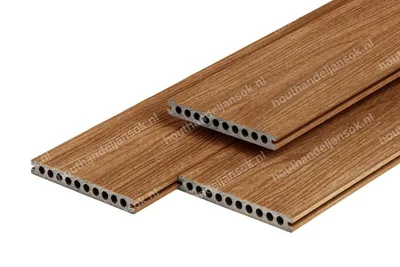
Material choice in brief: tropical hardwood (bankirai, cumaru, itauba) is hard-wearing, 25+ years, higher purchase cost, oil or let it grey. Douglas fir: warm, Dutch/European, 10–15 years with treatment, mid-budget. Composite: low maintenance, stable colour, higher price, watch for expansion in heat.
m² rule of thumb: order 5–10% extra for cut-offs, infill pieces and damage. For 20 m² of boards: allow ± 21–22 m². Send us the dimensions and a photo — you'll get a complete materials list back.
1
Prepare the ground
This is where most deck problems start. A deck on soft, wet ground will go out of level — even with expensive boards.
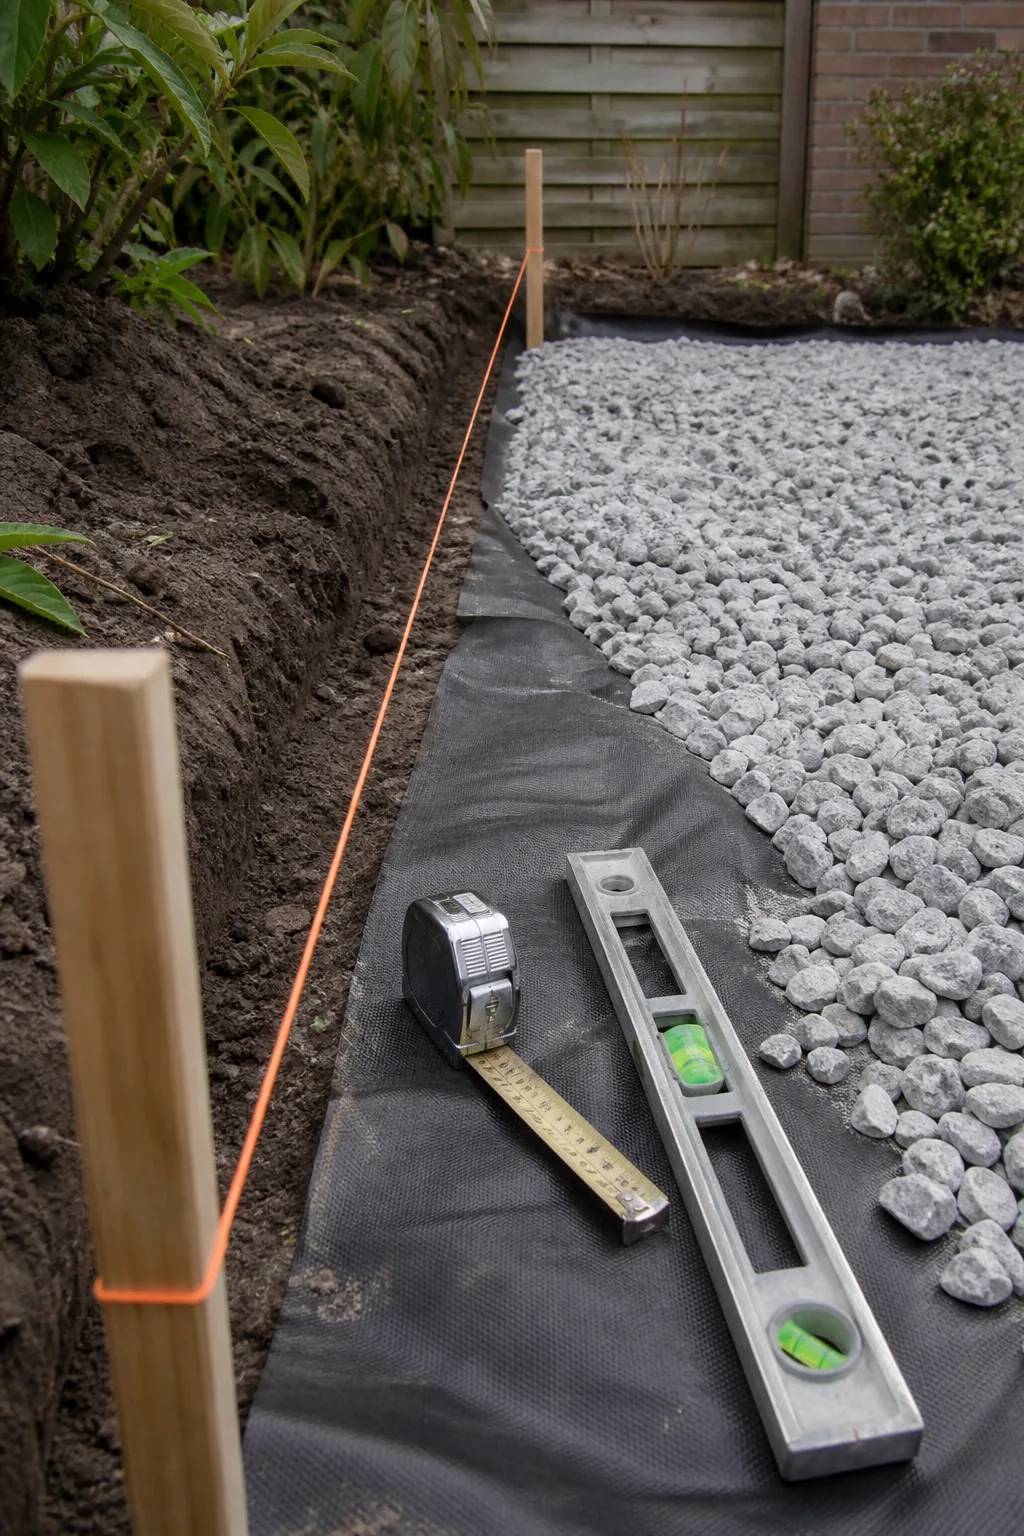
Excavate: remove turf, roots and topsoil to ± 15–20 cm below the future board level. Level with a long spirit level or laser. Slopes: plan 1–2% fall away from the house so rainwater does not sit against the building.
Drainage: lay weed-control membrane, spread 5–10 cm broken gravel or aggregate and compact lightly. On clay or with a high water table: thicker gravel layer or a drain pipe on the low side. Never place boards or joists directly on soil.
Connection to house: where the deck meets the wall, keep at least 1–2 cm clearance for ventilation, and finish with a lead flashing or aluminium cover profile so water does not run behind the boards.
Cables and pipes: submit a KLIC notification when digging. Lay electric cables for outdoor lighting or a hot tub now, not afterwards.
2
Install the substructure
The substructure carries everything. Do not cut corners here.
Support points: use adjustable deck pedestals (plastic or rubber), concrete pads or hardwood foundation blocks. On existing paving: deck pedestals on the tiles, provided they are stable. Centre-to-centre between support points: usually 40–50 cm in the direction of the joists, depending on joist thickness.
Joists: hardwood or pressure-treated/aluminium. Direction at right angles to the boards. Centre-to-centre between joists: 40–60 cm for solid decking boards (closer for thin or composite boards — check the manufacturer). Set each joist level and check the diagonals of the frame.
Ventilation: keep at least 4–5 cm free space under the boards so air circulates. Without ventilation you get moisture, mould and warping boards.
Layout: mark the outer contour with string line. Start at the house or the longest straight edge and work outward. For an L-shape: build two frames that you join later, not one curved structure.
3
Lay decking boards
Working direction: start at the visible side (often the house or the long straight edge) and work in one direction. That way the cut-to-size piece sits on the least visible edge.
Board preparation: let hardwood and Douglas fir acclimatise for 48–72 hours on site (stacked with spacers between). Composite: follow the manufacturer's expansion guidelines — often more clearance at the end joints.
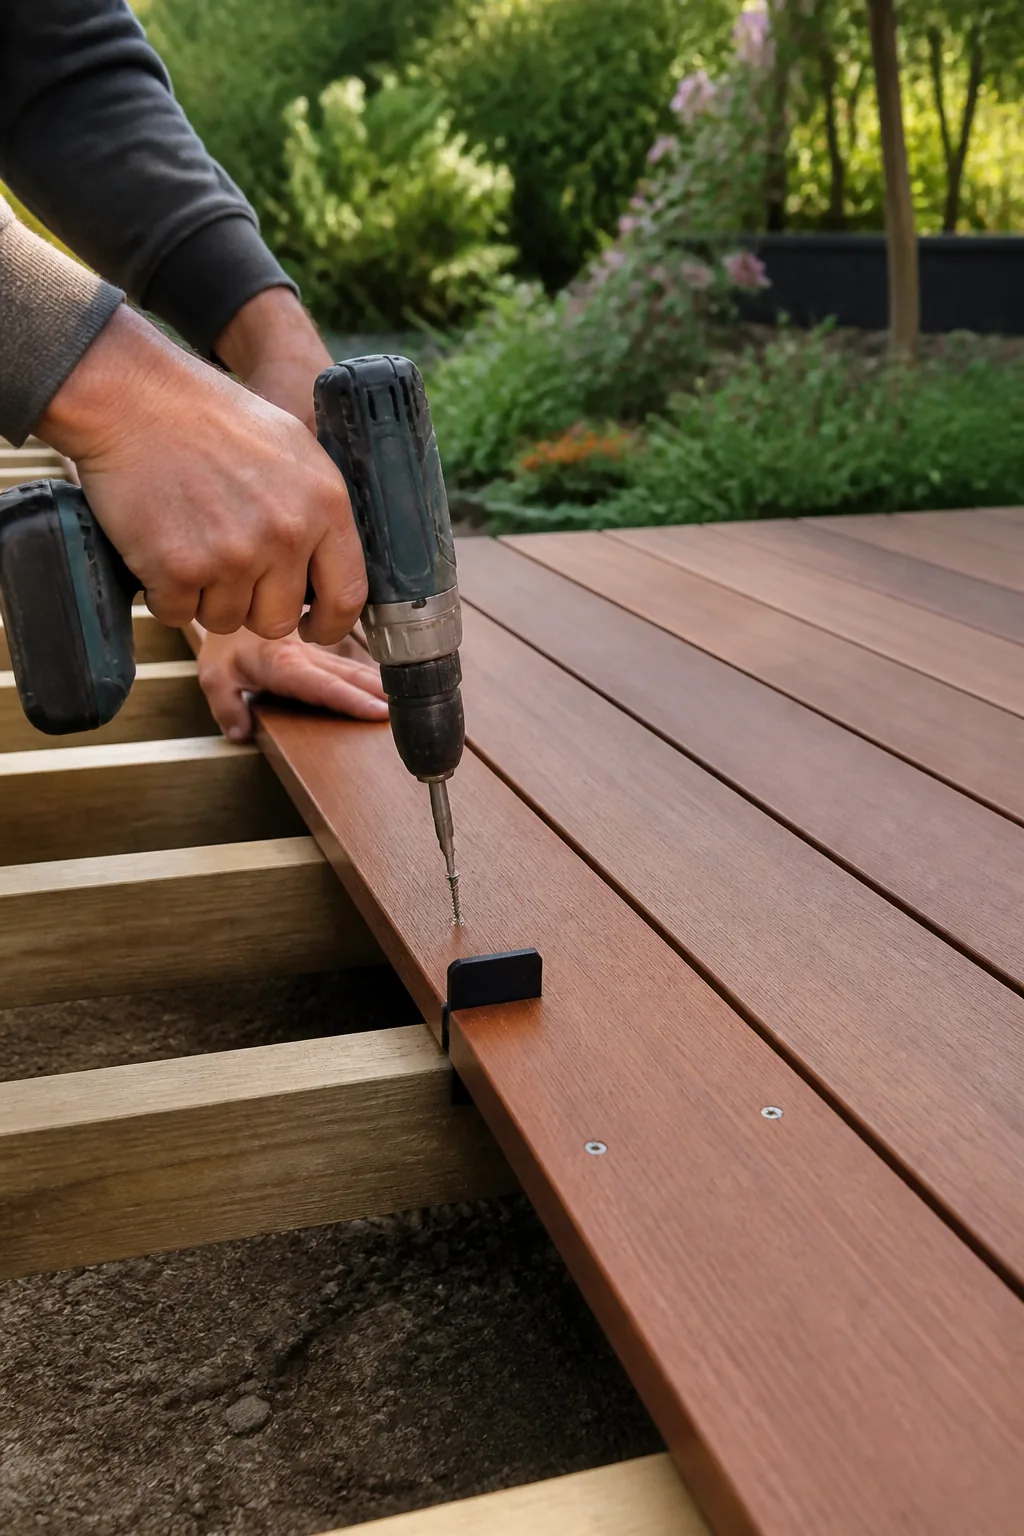
Fixing: stainless A2 or A4 screws, always pre-drill for hardwood. Screw into the centre of the joist, not at the edge of the board. Hidden clips look neat with composite and some hardwood systems; visible screws in one straight line look cleaner with classic Douglas fir.
Gap between boards: 5–8 mm for drainage and timber movement. Use a spacer or a thick screw as a gauge — not by eye. For composite: often 3–6 mm, check the manual.
End joints: do not end cut faces over an open gap — always on a joist. Stagger joints row by row (brick bond) so you do not get a continuous seam line.
Cut ends: treat sawn hardwood and Douglas fir ends with end-grain sealer or end sealer. Untreated ends absorb water and split first.
4
Finishing, oiling and maintenance
Edges: cut the outer contour straight with a circular saw along a guide. Fit a trim board or aluminium end profile — that protects the end grain and gives a clean line.
Steps and level changes: each riser ± 15–18 cm, tread minimum 28 cm. Use the same boards as on the deck, on a sturdy step structure.
Oil or greying: oil hardwood within 1–3 months of installation if you want to keep the warm colour; otherwise it greys evenly silver. Douglas fir: treat within the first season (stain or oil), then every 2–3 years. Composite: clean with water and a soft brush, no sander.
Annual maintenance: sweep leaves and dirt from the gaps (they hold moisture), check loose screws, and see whether the substructure still ventilates freely. No pressure washer on full power straight at the timber — you tear open the fibres.
Need help? Send dimensions, preferred timber species and a photo of the situation. We'll send a materials list with a quote — or we can lay the deck for you.
Tools
Gather everything before you start - a mid-job hardware-store run costs half a day.
Spade, rake and wheelbarrow
Weed-control membrane and gravel/aggregate
Tape measure, spirit level and builder's line
Adjustable deck pedestals or concrete pads
Cordless drill and wood bits
Circular saw or hand circular saw with guide
Spacers 5–8 mm
Stainless screws (A2/A4)
Work gloves and safety glasses
Rubber mallet
Saw horses or trestles
End-grain sealer or end sealer for cut faces
The five mistakes we see most
01
Joists or boards directly on soil — rot within a few seasons.
02
No fall: water sits against the house or in the gaps.
03
Joist spacing too wide: boards spring and sag.
04
Ordinary steel screws instead of stainless — black marks and loose heads.
05
Gaps too tight: boards expand and cup in damp weather.
Frequently asked questions
Which timber is best for a deck?
Hardwood (bankirai, cumaru) for maximum lifespan and minimal movement. Douglas fir for a warm look and sharper price. Composite if you hardly want to maintain it. For most gardens, hardwood or well-treated Douglas fir is the best value choice.
Do I need a permit for a timber deck?
A deck at ground level is usually permit-free. For a raised deck, a structure over it or homeowners' association/leasehold: check the Omgevingsloket or your municipality.
How much gap should there be between decking boards?
For solid timber usually 5–8 mm for water and movement. For composite often 3–6 mm — always follow the manufacturer. Too tight = cupped boards; too wide = uncomfortable to walk on and lots of dirt in the gaps.
Can I lay a deck over existing paving?
Yes, if the paving is stable and reasonably level. Use adjustable deck pedestals on the tiles and ensure fall and ventilation under the boards. If paving has sunk or is uneven: repair first or remove the tiles.
How many decking boards do I need?
Calculate length × width in m² and add 5–10% for cutting waste. Example: 4 × 5 m = 20 m² → order 21–22 m². We are happy to calculate exactly including substructure and screws.
What does a timber deck cost per m²?
Roughly €55–€120 per m² complete (boards + substructure + fixings), depending on timber species. Hardwood at the top end, Douglas fir lower. Ask for a quote with your dimensions.
Browse related products
Need help with your project?
Our timber specialists are happy to help. Request a no-obligation quote or call us directly.