


Step-by-step · DIY
Build a Covered Structure
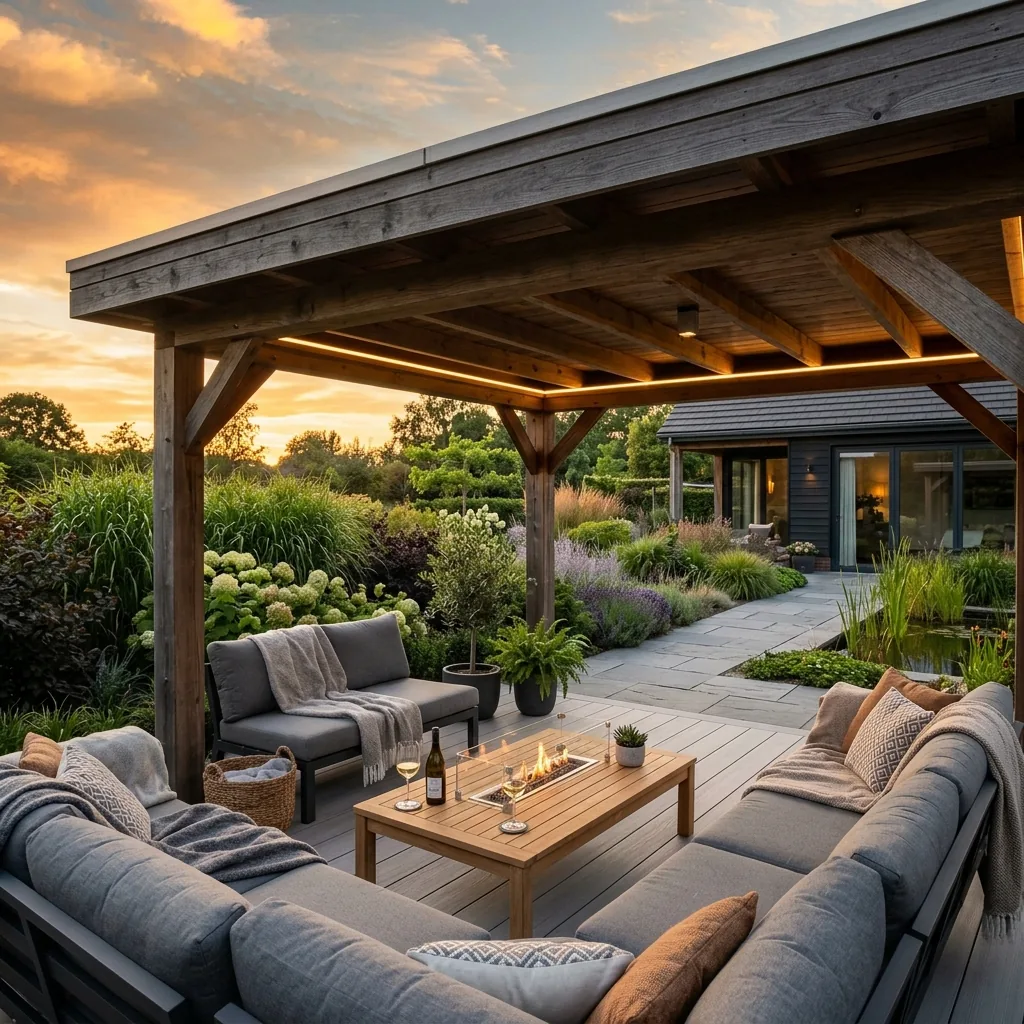
Building a timber canopy gives your garden a second living room — sheltered in rain, cool in summer. The difference between "looks good in a photo" and "still solid in 10 years" comes down to foundation and connections. Allow two to three weekends with two people for a 3 × 4 m structure.
Materials required
Order everything you need directly from our range.
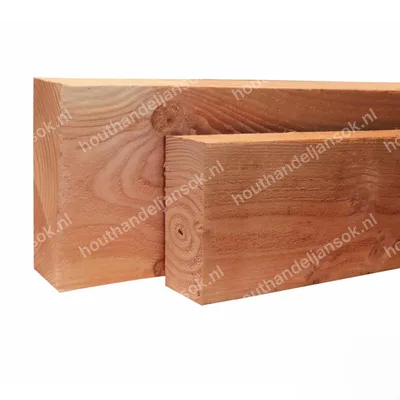
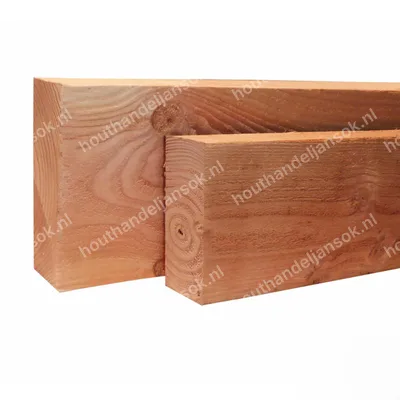
Posts & beams
Bekijk alle →
Covered-structure packages
Bekijk alle →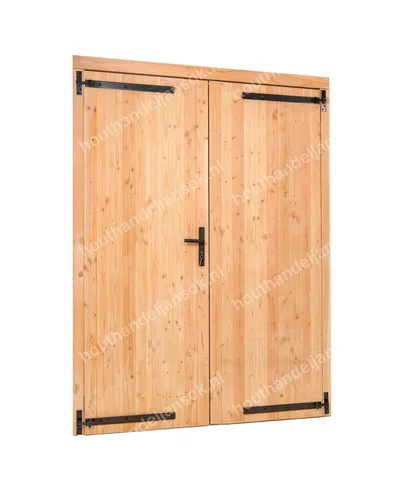
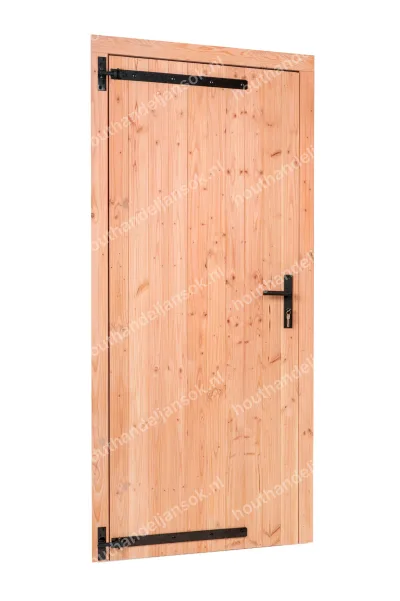
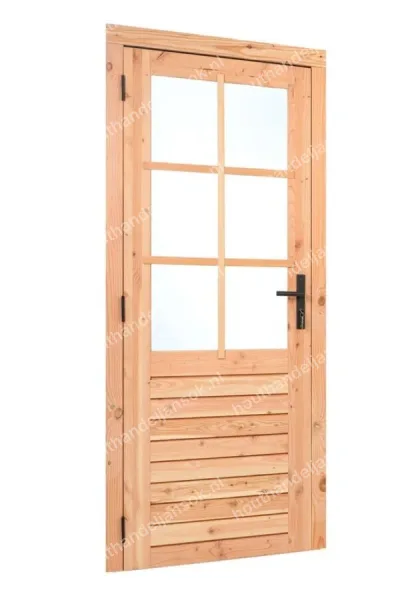
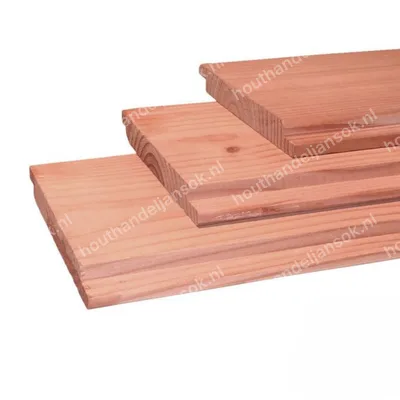
Cladding boards
Bekijk alle →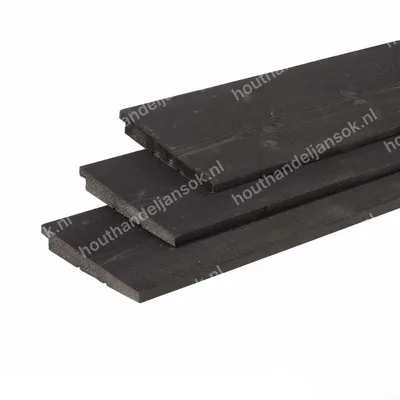
Zwart gespoten
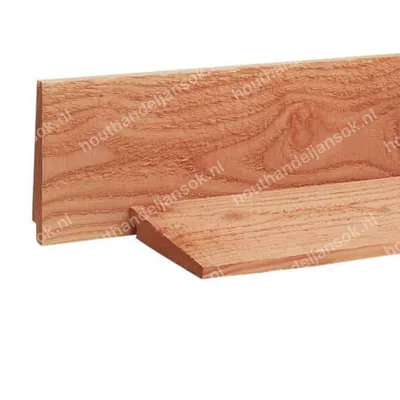
27x195mm Douglas Zweeds Rabat Zwart Gedompeld (3,00m) – Werkende Breedte 18cm
[object Object]
vanaf
€ 13,35
Step-by-step guide
Check permits and draw the structure before you cut timber.
0
Design, permits and structural choice
Choose the type: open pergola (slats, climbing plants, light shade), semi-open covered structure (closed roof, open sides) or enclosed veranda (one or more walls, possibly glazed). Decide on location: freestanding in the garden or attached to the house (wall-mounted).
Permits: often permit-free up to 50% of the rear plot and max. 3 m height, with setback rules to the boundary. Exceptions apply for building regulations, aesthetics and listed buildings. Always check the Omgevingsloket before you cut timber — and have the drawing ready for your application.
Dimensions: comfortable seating needs at least 2.30–2.50 m clear height. Width and depth in steps of 60 cm or 1.20 m keeps material use efficient. Draw posts, beams and roof direction to scale, including gutter and fall.
Timber choice: Douglas fir (strong, warm, needs treatment) or hardwood (more expensive, longer low-maintenance). Posts often 12 × 12 cm or 15 × 15 cm Douglas fir; for larger spans dimension heavier. We help with a custom timber list — send a sketch and photo.
1
Layout and preparation
Set out the four (or more) corners with pegs and builder's line. Measure both diagonals: equal = square. Mark each post position.
For wall mounting: check whether the wall is strong enough for a wall plate or anchors, and whether the house rainwater discharge is in the way. Plan the structure gutter so it does not discharge into the house downpipe without coordination.
Cables: KLIC notification when digging. Run empty conduits now for lighting and a socket — drilling through a post afterwards is a waste.
Ground: remove turf at pier positions. If you plan a deck under the structure later: align levels now so you do not have to shorten joists later.
2
Foundation and anchors
Every post deserves a solid, frost-free foundation. Half measures here = a leaning structure in the first storm.
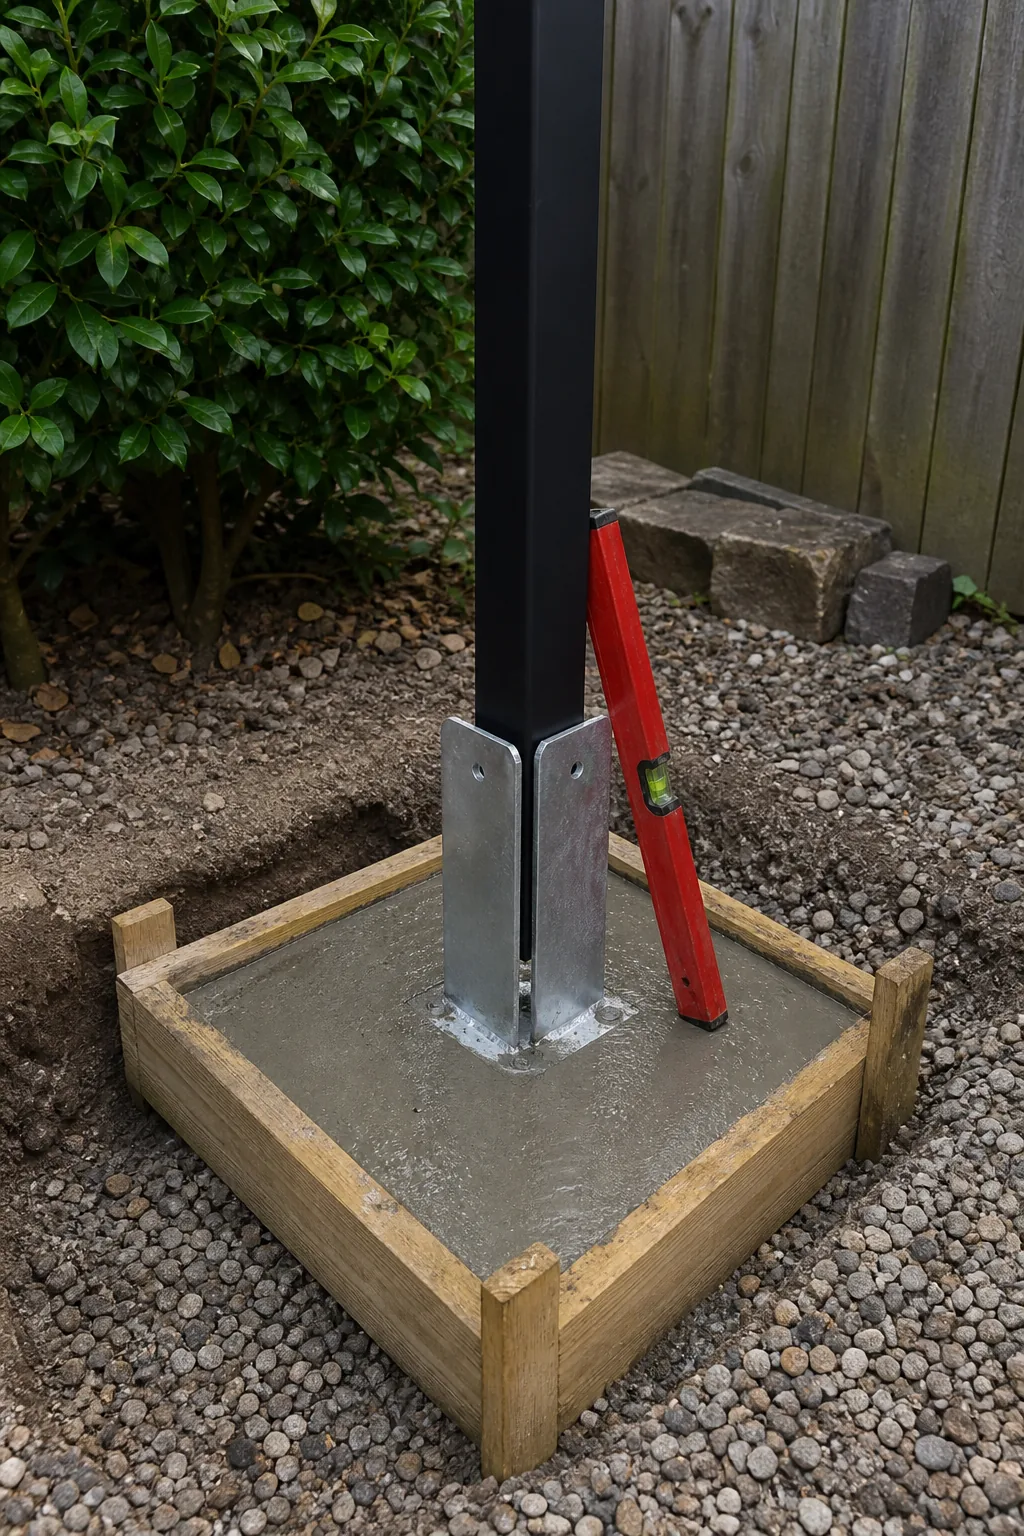
Options: poured concrete pier with steel foot anchor (most stable), prefab concrete pier with cast-in anchor, or ground screw foundation on firm sandy soil for lighter structures. Depth often 60–80 cm; deeper on frost-sensitive clay.
Setting: set the anchor plumb and at the correct centre-to-centre dimension before the concrete sets. Use a template (wooden frame) so all anchors are in one line and at equal height. Let concrete cure 24–48 hours before mounting posts.
Timber and soil: never put posts directly in the ground. Always use a metal anchor or post support with an air gap so water does not wick into the top of the post.
3
Posts, beams and purlins
Mount posts plumb (spirit level on two sides) and brace temporarily. Check the diagonals of the ground plan again.
Main beams: connect posts with heavy beams (often 6.3 × 17.5 cm or heavier, depending on span). Use stainless or galvanised timber connectors, joist hangers or half-lap joints — not "screws in the end grain only" for load-bearing connections.
Purlins/rafters: centre-to-centre usually 50–60 cm for EPDM or roof decking; for polycarbonate follow the panel grid from the manufacturer. Build in fall: flat roof minimum 1.5–2% towards the gutter.
Connections: pre-drill, stainless bolts or screws of sufficient length. With Douglas fir: account for checking along the grain — do not tension until the timber splits.
Wall mounting: fix the wall plate with approved anchors into the wall structure, not just into plaster. Unsure about the wall? Have a structural engineer or us advise.
4
Roofing and rainwater
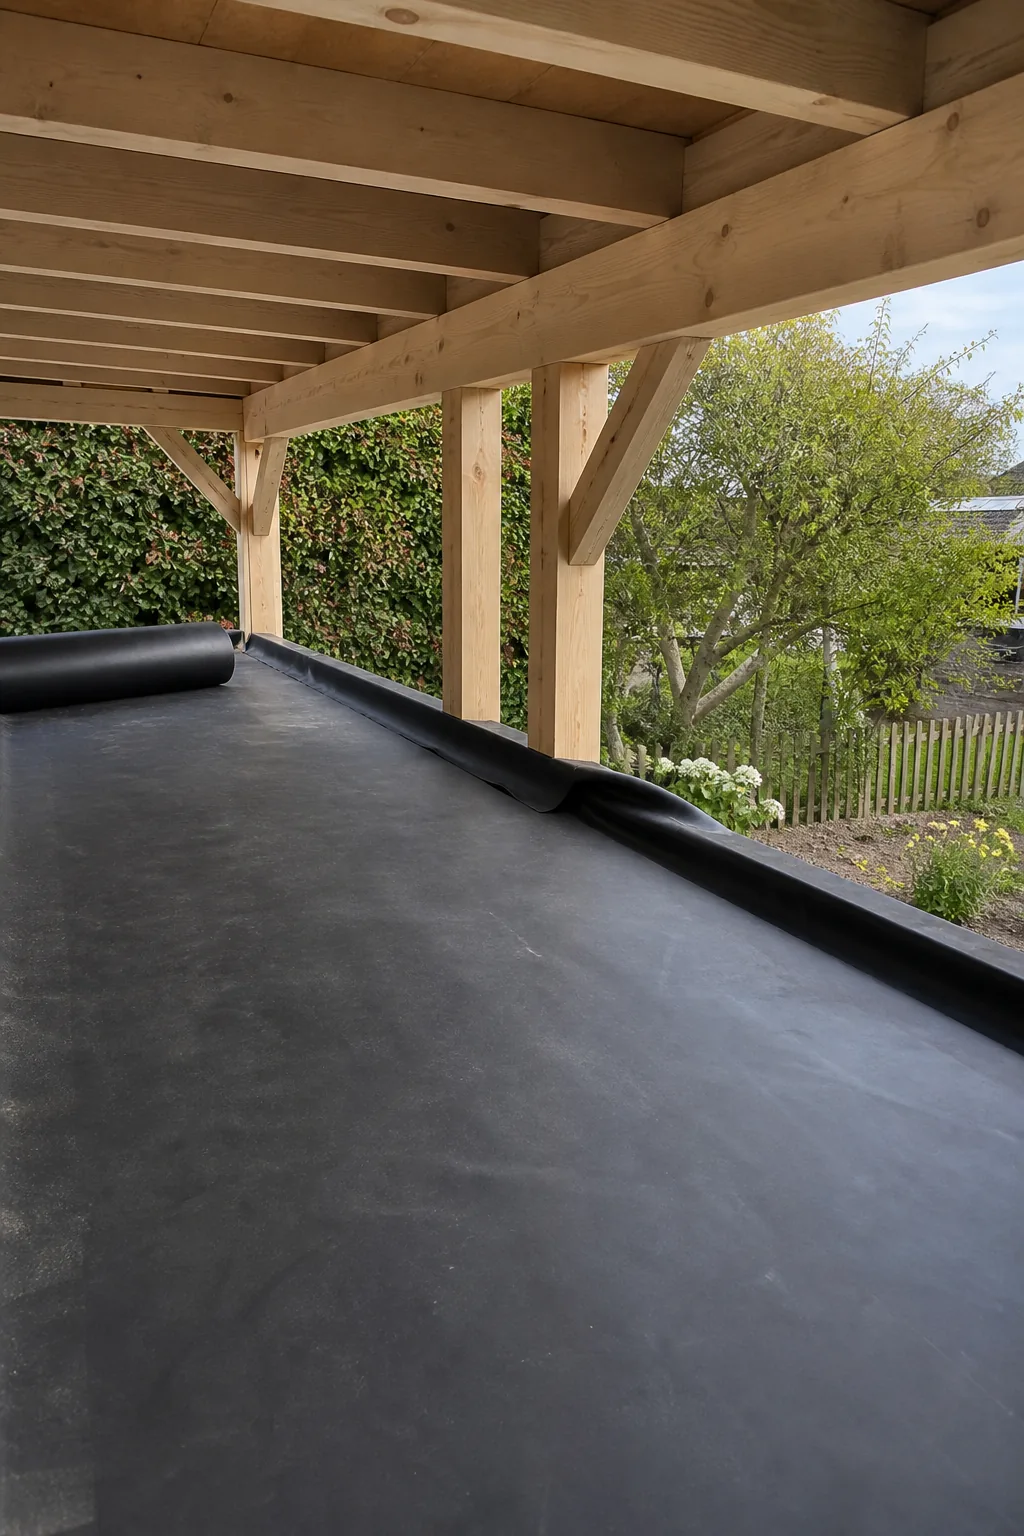
Choose the roof for your use: EPDM on roof decking (watertight, quiet, ideal for seating), polycarbonate or glass panels (light-transmitting, warmer in summer), or corrugated/profile sheets (budget, practical for storage/carport-style use).
EPDM: roof decking level/with fall, seams supported, EPDM clean and tension-free bonded, edges with metal or aluminium trim. Polycarbonate: use the correct H and U profiles, UV side up, room for expansion in length.
Gutter and drainage: without a gutter, water runs down the posts and splashes on your seat. Fit a box gutter or fascia gutter on the low side, with fall to a downpipe or rain barrel. Keep the outlet clear of the foundation.
Side walls (optional): cladding, glass screens or louvres for wind protection — mount those after the roof so you can still reach the structure.
5
Finishing and maintenance
Treat Douglas fir within a few weeks of installation (stain or oil, including end grain). Hardwood: oil or let it grey. Protect all cut faces again.
Check: sit test in wind — if a post moves visibly, a brace or heavier foot is needed. Check anchors for rust annually, retighten bolts, and clear the gutter of leaves.
Common mistakes: posts too light for the span, no real foundation (tiles only), flat roof without fall, and cheap non-stainless connections that sag.
Need help? Send a sketch with dimensions, whether freestanding or attached to the house, and a photo of the site. We'll prepare a timber package and quote — and can advise on the structure if needed.
Tools
Gather everything before you start - a mid-job hardware-store run costs half a day.
Tape measure, spirit level, plumb bob and builder's line
Spade or post-hole auger for piers
Wheelbarrow, bucket and quick-set concrete
Cordless drill and drill
Spanners for anchor bolts
Circular saw and hand saw
Ladder or rolling scaffold (safe work at height)
Stainless bolts, timber connectors and joist hangers
Rubber mallet and wooden props
Work gloves, glasses and hearing protection
Sealant gun and EPDM adhesive / construction adhesive (for flat roof)
Gutter brackets and downpipe materials
The five mistakes we see most
01
Posts on tiles or loose piers without real anchoring.
02
Timber sections too light for the span — the roof sags.
03
Flat roof without fall: ponding and leaks.
04
Screws in end grain only for load-bearing connections.
05
No gutter: water down posts and a wet seat.
Frequently asked questions
Do I need a permit for a covered structure?
Often permit-free up to 50% of the rear plot and max. 3 m high, with setback from the boundary. Exceptions for aesthetics, listed buildings and some municipalities. Always check the Omgevingsloket.
What timber size do I need for posts?
For a typical seating structure often 12 × 12 cm or 15 × 15 cm Douglas fir. For larger spans or a heavy roof: dimension heavier. Send your dimensions — we'll calculate with you.
Which is better: EPDM or polycarbonate?
EPDM is watertight, quiet and pleasant for a seating area. Polycarbonate lets light through and feels more open, but can get warmer in summer. Corrugated sheets are a budget option for storage or carport-style use.
Can I build a covered structure against my house?
Yes, with a correctly fixed wall plate and good weatherproofing. Check whether the wall can take the load and plan gutter/drainage carefully. We supply timber made to measure for wall mounting.
How long does building take?
For 3 × 4 m with two people: allow 2–3 weekends, plus concrete curing time. Prefab thinking (have everything cut to size) saves a day.
What does a timber covered structure cost?
Roughly €150–€350 per m² floor area for the timber package, depending on size, timber species and roof type. Ask for a quote with a sketch for a sharp price.
Browse related products
Need help with your project?
Our timber specialists are happy to help. Request a no-obligation quote or call us directly.