


Step-by-step · DIY
Install a Garden Fence
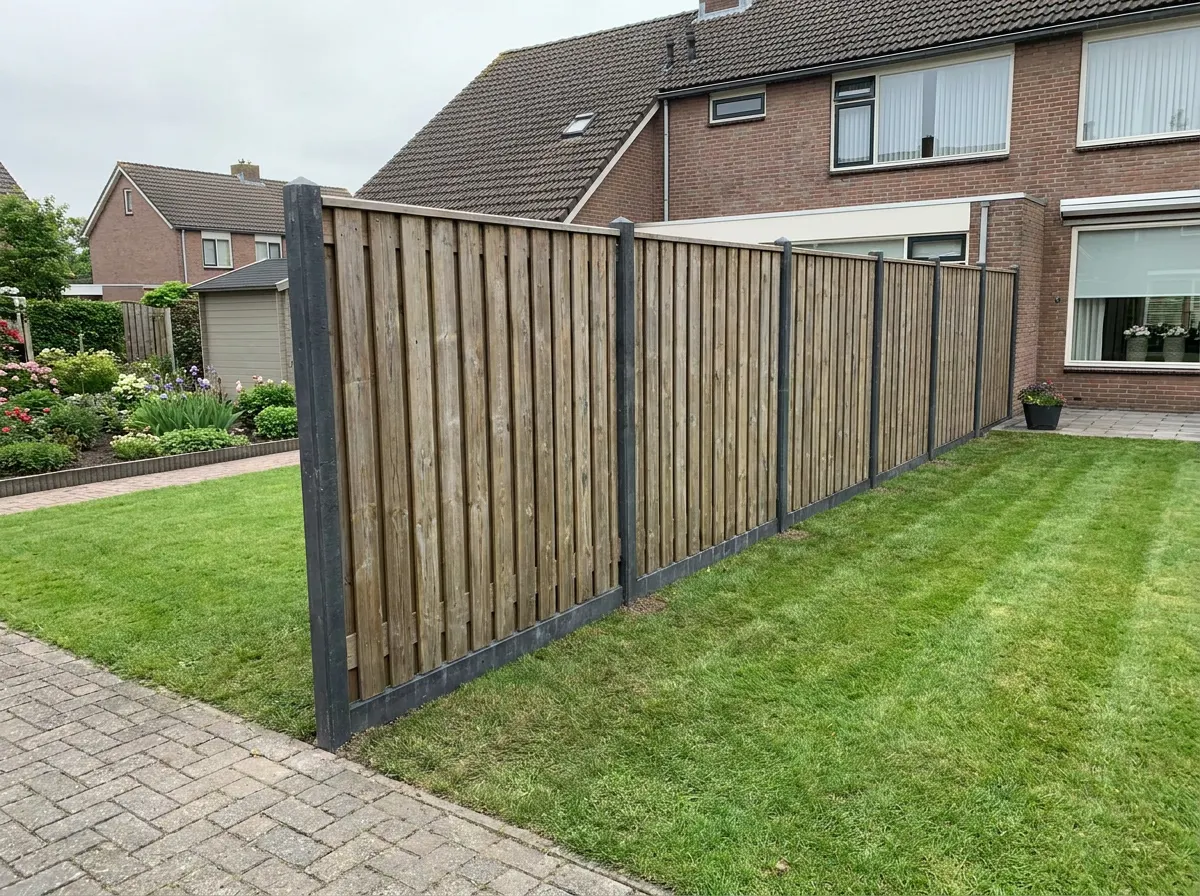
Installing a garden fence is a realistic DIY job when posts are straight and correctly spaced. Allow one weekend with two people for a 10-metre fence, plus a day for the concrete to cure. Quick orientation: <a href="/schutting-plaatsen">install a fence (key steps)</a>, products: <a href="/houten-tuinschermen-schuttingen">wooden garden screens and fences</a>, prices: <a href="/schutting-kosten">fence costs</a>.
What do you need?
A fence comes down to four parts: panels, posts, gravel boards and quick-set concrete. Measure the run first - everything else follows from that. Below is what to look for, plus a worked example for 10 metres.
Panels
Standard 180 cm wide. One panel per bay of 191 cm centre-to-centre.
Posts
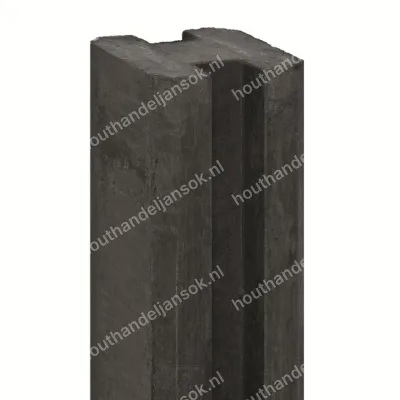
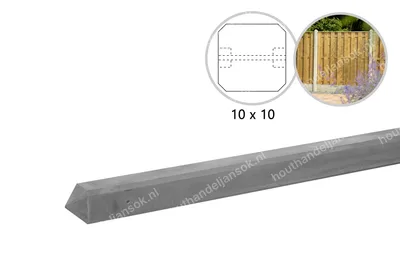
Concrete or timber, 10 x 10 cm. Always one post more than the number of panels, plus two per gate.
Gravel boards
One per bay. Keeps the timber off the ground and adds years of service life.
Quick-set concrete
About 25 kg per post, for a hole 60 cm deep and Ø 20–25 cm.
Fixings
Stainless screws or nails. Galvanised rusts through and streaks the timber black.
Tools
Earth auger, spirit level, string line and a rubber mallet. Full list further down.
Example: 10 metres straight, no gate
Panel width 180 cm · centre-to-centre 191 cm- Fence length10.00 m
- Bays: 10.00 ÷ 1.915.2 → 5 full bays (9.55 m)
- What is left45 cm → 1 panel cut to size
- Panels5 + 1 = 6
- Posts: panels + 17
- Gravel boards: 1 per bay6
- Concrete: 25 kg per post175 kg
Shopping list
6 panels · 7 posts · 6 gravel boards · 175 kg quick-set concrete
Different length, or a gate in the run? Work it out in the calculator
Materials required
Order everything you need directly from our range.
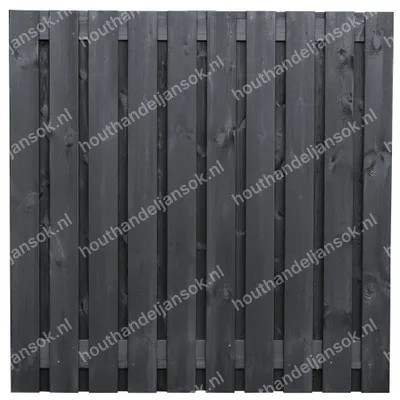
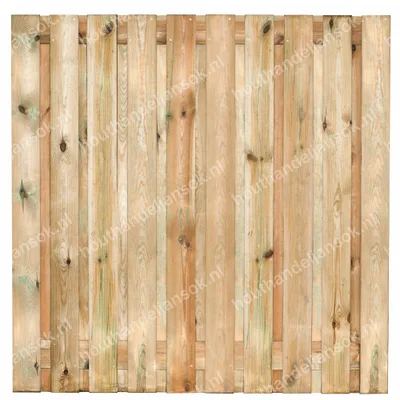
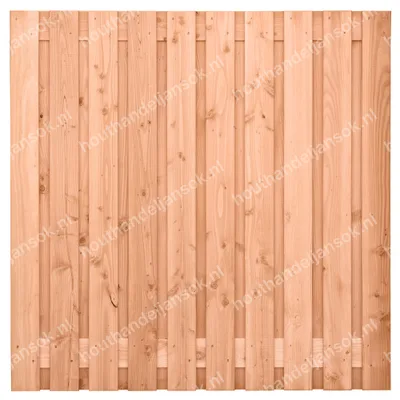
Garden fence panels
Bekijk alle →
Concrete posts
Bekijk alle →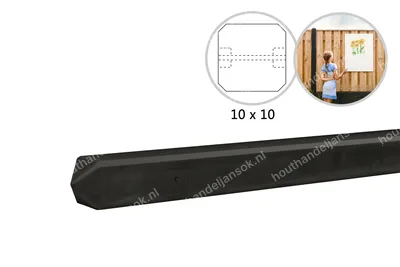
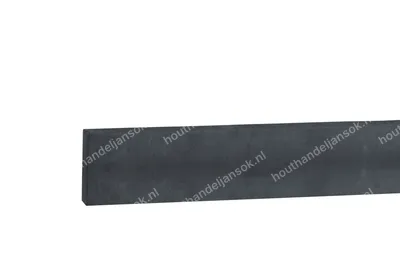
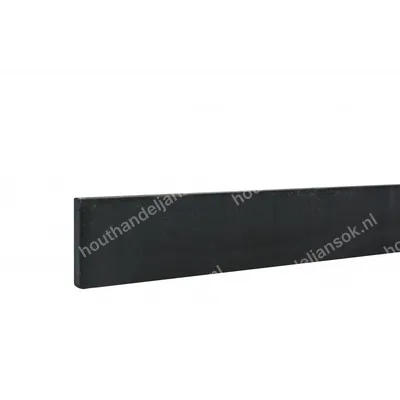
Concrete gravel boards
Bekijk alle →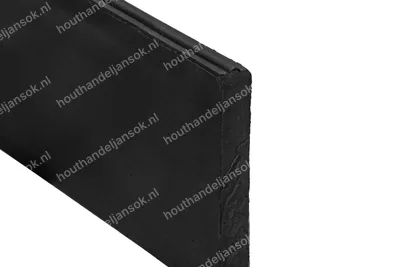
Garden gates
Bekijk alle →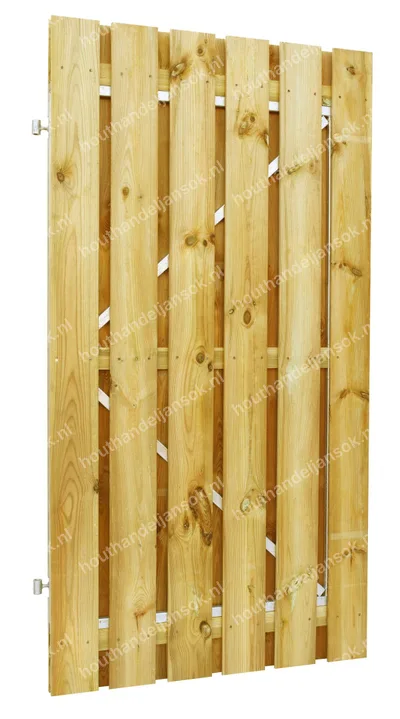
Geïmpregneerd
Geïmpregneerde Plankendeur op Verstelbaar Stalen Frame (90 x 190 cm)
[object Object]
vanaf
€ 113,00
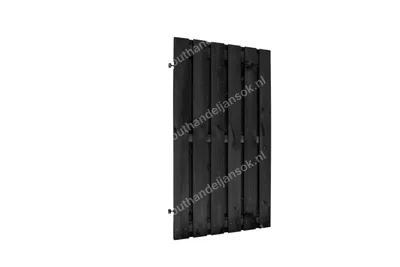
Zwart gespoten
Zwart Gespoten Plankendeur op Verstelbaar Stalen Frame (100 x 190 cm)
[object Object]
vanaf
€ 180,00
Geïmpregneerd
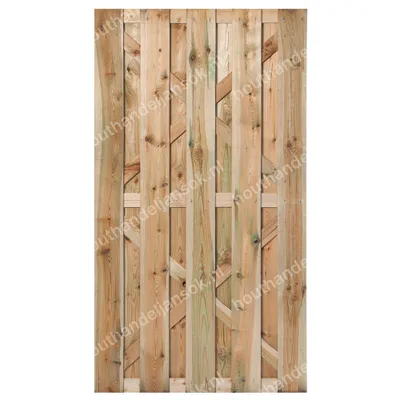
Geïmpregneerde Plankendeur op Houten Frame (100 x 180 cm)
[object Object]
vanaf
€ 82,00
Calculator
Indicative - panel width 180 cm, centre-to-centre 191 cmPanels
7
54 cm cut-to-size panel
Posts
8
incl. corner and end posts
Gravel boards
7
1 per panel bay
Quick-set concrete
200 kg
± 25 kg per post
Always check centre-to-centre spacing for your chosen post. For corners, level changes or windy sites we are happy to calculate exactly - request a quote.
Step-by-step guide
Read step 0 before you order materials.
0
Preparation and regulations
Do this before you order materials.
Property boundary: agree with your neighbours where the boundary lies (unsure? Kadaster.nl shows the plot line). If you place the fence exactly on the boundary, it counts as a shared fence and you need your neighbour's consent. To avoid that discussion: set the fence 5 cm inside your own land.
Permits: up to 2 metres high in the back garden is usually permit-free. At the front or along public space, often a maximum of 1 metre applies. Exceptions apply for listed buildings, protected townscapes and some homeowners' association or leasehold rules. Always check the Omgevingsloket portal (omgevingswet.overheid.nl) or call your municipality — two minutes on the phone is cheaper than having to take it down.
Cables and pipes: never dig blind. Submit a free KLIC notification via the Kadaster (or ask us to help) and use a cable detector if in doubt. Hit a gas pipe or fibre optic line and the costs are yours.
Ground conditions: sand and clay are fine. With lots of rubble, tree stumps or a high water table: let us take a look and we'll adjust the foundation accordingly.
1
Measure and lay out
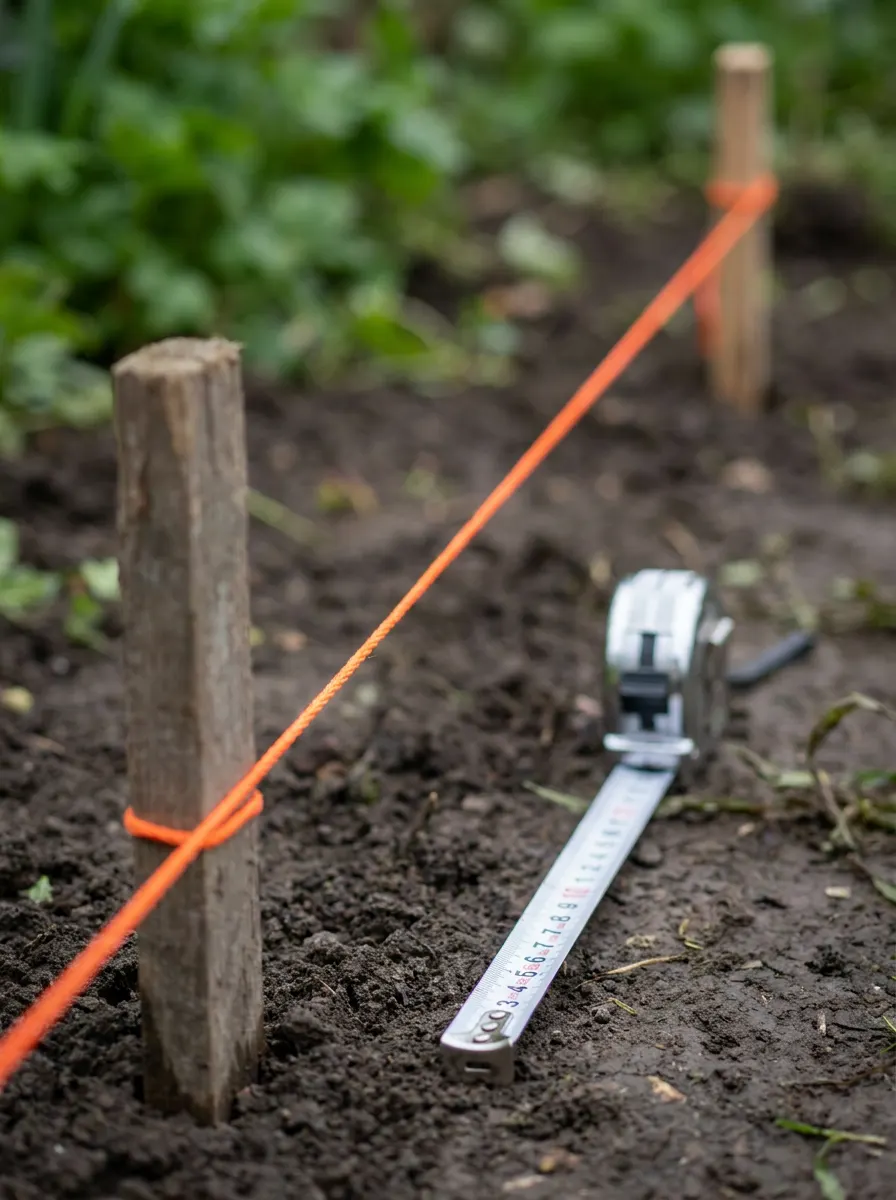
Measure the total length of the fence line with a tape measure along the ground — not by eye. Place wooden pegs at the corners and run a tight string line (builder's line) between them — this is your reference for everything. Measure the length again along the string; that is your actual dimension.
Number of posts: standard panels are 180 cm wide. Centre-to-centre spacing between posts is usually 191 cm (180 cm panel + room for the post and 1–2 cm clearance). Always check this against the posts you choose. Rule of thumb: number of panels = length ÷ 1.80 and number of posts = number of panels + 1.
Example for 12 metres: 12.00 ÷ 1.80 = 6.67 → 6 full panels + 1 cut-to-size panel. Posts: 7 + 1 = 8 pieces.
Remainder: never leave a tiny sliver at the end. Cut one panel to size and place it in the least visible spot (for example against the shed wall), or split the difference across two panels at the ends.
Corners and gates: at each corner you need one post where two panels meet — use a corner post or a block post with U-channels. For a gate: measure the gate width plus 2–4 cm for hinges and lock. Gate posts take heavier loads: make that foundation at least 20% larger and always set them in concrete. With a height difference in the garden: follow the ground level with stepped sections rather than tilting panels.
Final check: measure both diagonals of your laid-out rectangle. If they are equal, your line is square.
2
Choose materials
Timber garden panels: warm and natural, lifespan 10–20 years (pressure-treated), treat every 2–3 years, light to medium budget, full privacy.
Concrete fencing: clean and industrial, 30+ years, virtually no maintenance, heavy (two people needed), higher purchase cost but low over the years, full privacy.
Natural mats (willow, reed, heather): green and informal, 3–8 years, replace rather than repair, very light and low budget, privacy depends on density. Not wind-stable in exposed locations — always mount on a sturdy frame.
What to look for: for timber, choose sustainably sourced or pressure-treated spruce or Douglas fir with KOMO or FSC certification. Untreated spruce rots within a few years at ground level. Concrete baseboards 180 cm long weigh 40–80 kg; plan for a second person or a stone clamp. Very common: a timber panel between concrete posts with a concrete gravel board at the bottom — the wood never touches the soil and lasts years longer — for most gardens the best value choice.
Shopping list per post (concrete in the hole): 1 post (length = fence height + 60–80 cm), ± 25 kg quick-set concrete or stabilising mix, gravel for the base layer (± 10 cm).
Tools: spade or post-hole auger (Ø 20–25 cm), wheelbarrow, bucket, tape measure, spirit level (60 cm and long), builder's line, plumb bob, rubber mallet, cordless drill, hand saw or circular saw, work gloves, safety glasses.
Not sure? Send us the length, the location (exposed or sheltered) and a photo — we'll calculate the materials for you.
3
Foundation and setting posts
This is the step that determines the end result. Take your time.
Digging holes: mark each post position on your string line with tape (centre-to-centre, usually 191 cm). Dig a hole ± 25 cm in diameter and 60–80 cm deep at each position (deeper for tall fences or exposed, windy sites). Pour ± 10 cm gravel at the bottom so water drains and the post does not sit in water.
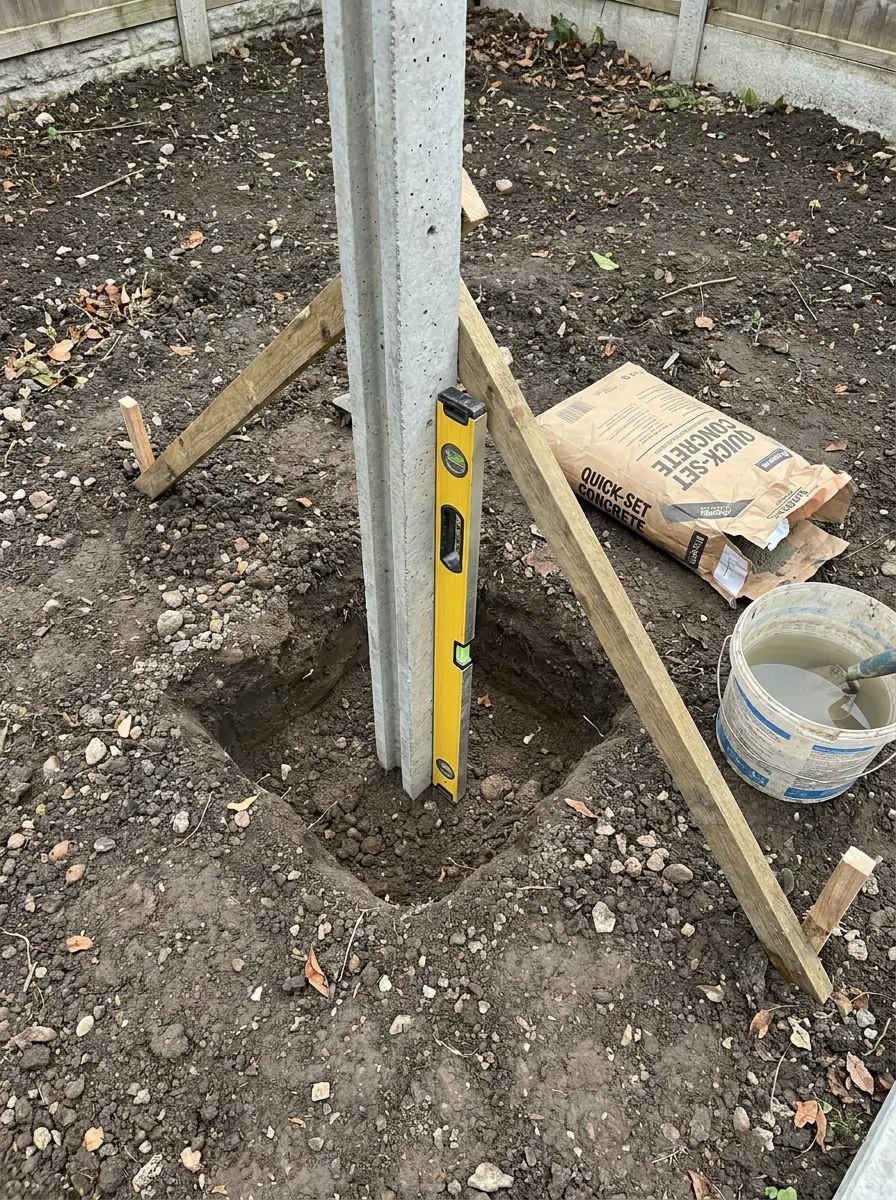
Setting posts: place the first corner post in the hole and set it to height. Check with a spirit level on two sides (front and side) that the post is plumb; a plumb bob along the post is an extra check. Brace the post temporarily with two props. Fill the hole with concrete to ± 5 cm below ground level and slope the top of the concrete slightly away from the post so rainwater does not pool. Check plumb one more time — concrete can still be adjusted in the first few minutes, not after that. Continue post by post and after each post check that the top is at the same height as the string line and at the correct spacing.
Two tips that save a lot of work: do not fill all posts with concrete at once. Set two, let them cure, and dry-fit the first panel between the grooves. Does it fit? Then continue with confidence. Measure the distance between posts at two heights (bottom and top) — posts that are correct at the bottom but splay at the top will give you binding panels later.
Quick-set concrete curing time: 24 hours before panels can be hung, 48 hours for full load. Do not pour in frost or at temperatures below 5 °C. Alternative without concrete: on firm sandy soil and for light matting you can use post supports or drive-in sleeves — faster, but less stable in wind. For a proper fence we recommend concrete.
4
Install panels
Working direction: always start on the left (or at the fixed corner side, for example against a wall) and work in one direction. That way all dimensional deviation collects on one side, where you can deal with it.
Gravel board first: if you use a concrete gravel board, place it first between the posts. Set it level on a thin bed of sand or gravel — the gravel board sets the height of all panels above it.
With grooved concrete posts: drop the panel into the groove from above. Two people, slide it down gently, do not force it. Binding? Trim slightly along the side of the panel; never hammer it in.
With flat posts and U-channels or clips: screw the stainless panel clips or U-channels to the post — two per side, roughly at 1/4 and 3/4 of the height. Place the panel between them, check with a spirit level that the top is straight, and screw tight with stainless or galvanised screws. Ordinary steel screws rust and leave black marks on your timber.
Height above ground: keep the timber at least 5 cm clear of the soil (without a gravel board). Direct contact with damp soil is the main cause of rot. Allow 5–10 mm clearance at the sides; never clamp a panel tight — timber expands and contracts.
Finishing: fit post caps on the posts against rainwater ingress. Cut timber to size? Treat the cut face with end-grain sealer or touch-up paint — the pressure-treated layer is no longer there. Hang the gate last so you can adjust for the clearance of the rest.
5
Inspection and maintenance
Final check: walk the full length and sight along the top — one straight line? Push firmly against each panel halfway along. Does a post move? Then the foundation is too small or not yet cured. Check that all screws are tightened and nothing protrudes at child height. Clear up concrete and sawdust; they stain paving.
Timber maintenance: first treatment after 3–6 months (the timber needs to dry first), then every 2–3 years. Check the ground line annually for soft spots. Concrete: remove green algae with a soft brush and water — no pressure washer on full power. Mats: check the fixings to the frame annually. Climbing plants: attractive, but keep them away from the tops of timber posts; they hold moisture.
The five mistakes we see most often: holes too shallow (under 60 cm and your fence leans in the first autumn storm), working without a string line, filling all posts with concrete at once, wrong (non-stainless) screws, and timber against the ground without a gravel board or air gap.
Need help? Send us the length of your fence line, a photo of the situation and your material preference. We'll send back a complete materials list with a quote — and if you'd rather not DIY, we can install it for you.
Tools
Gather everything before you start - a mid-job hardware-store run costs half a day.
Spade or earth auger (Ø 20–25 cm)
Wheelbarrow and bucket
Tape measure
Spirit level - 60 cm and long
Brick line and stakes
Plumb bob
Rubber mallet
Cordless drill/driver
Hand saw or circular saw
Work gloves
Safety glasses
Stone clamp for concrete panels
The five mistakes we see most
01
Holes too shallow - under 60 cm the fence leans in the first autumn storm.
02
Working without a string line. Eye-level setting shows up in the top line.
03
Filling every post with concrete at once, without dry-fitting a panel first.
04
Wrong, non-stainless screws - they rust and stain the timber black.
05
Timber against the ground, without a gravel board or air gap underneath.
Frequently asked questions
Do I need a permit for a garden fence?
Up to 2 metres high in the back garden is usually permit-free. At the front or along public space, often a maximum of 1 metre applies. Always check the Omgevingsloket or call your municipality — especially for listed buildings, protected townscapes, homeowners' associations or leasehold.
Can I place the fence exactly on the property boundary?
Yes, but then it is a shared fence and you need your neighbour's consent. Unsure about the boundary? Check Kadaster.nl. To avoid dispute: place the fence 5 cm inside your own land.
Do I need to submit a KLIC notification?
Yes, never dig blind. Submit a free KLIC notification via the Kadaster before you dig holes. Hit a gas pipe or fibre optic line and the costs are yours.
How do I calculate the number of posts and panels?
Standard panels are 180 cm wide; centre-to-centre between posts is usually 191 cm. Rule of thumb: number of panels = length ÷ 1.80 and number of posts = number of panels + 1. Split a remainder across one or two cut-to-size panels — never a tiny sliver at the end.
Which material is best for a garden fence?
For most gardens: timber panels between concrete posts with a concrete gravel board. The timber never touches the soil and lasts longer. Pressure-treated spruce or Douglas fir with KOMO/FSC is the safe timber choice; concrete lasts 30+ years with little maintenance.
Can I install a garden fence myself?
Yes. Allow one weekend with two people for 10 metres, plus a day for the concrete to cure. With our step-by-step guide and a custom materials list, most DIYers succeed. Prefer not to DIY? We can install it for you too.
What does a garden fence cost per metre?
A complete fence costs on average €45–€80 per linear metre, depending on material and height. Send length, photo and material preference for an exact quote.
Browse related products
Need help with your project?
Our timber specialists are happy to help. Request a no-obligation quote or call us directly.