


Step-by-step · DIY
Build a Garden Room
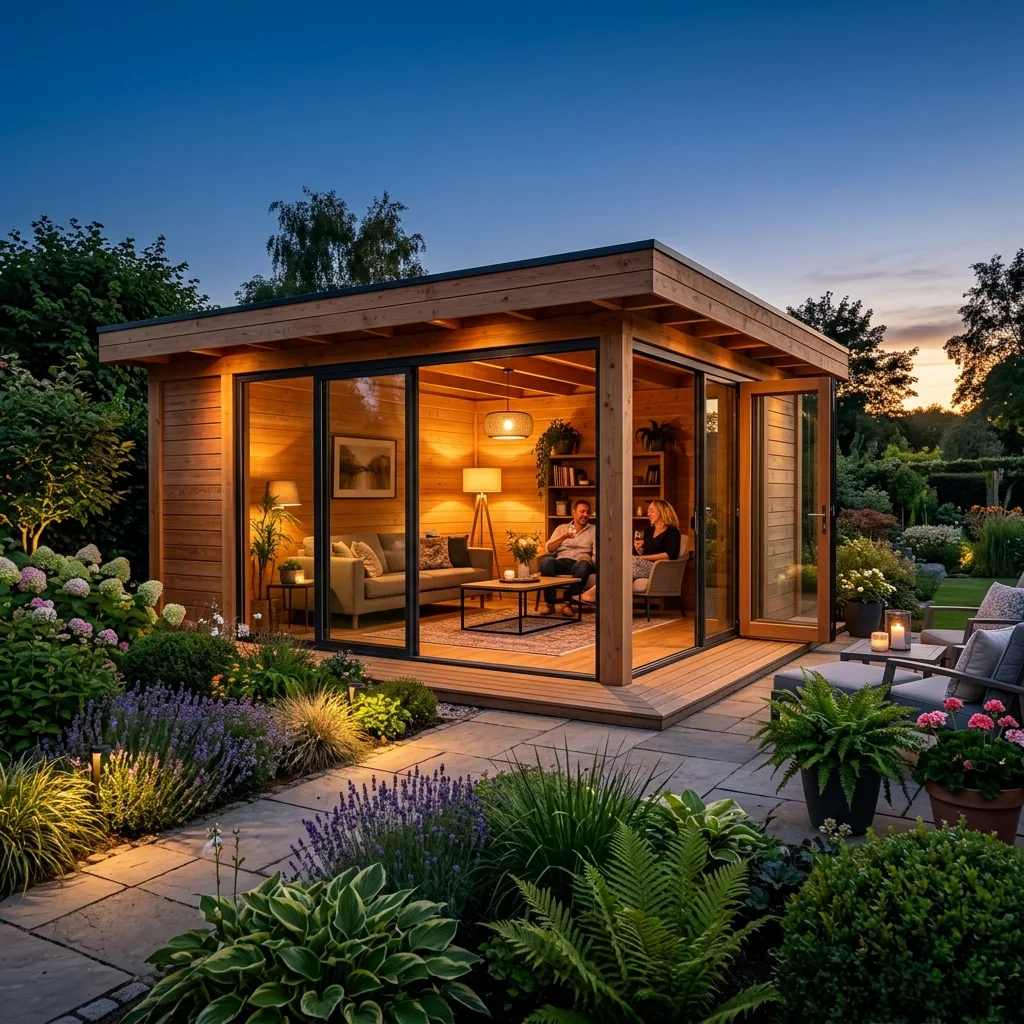
Building a garden room is realistic DIY when foundation, weatherproofing and wind resistance are right. We supply structural timber and cladding made to measure — not a ready-made prefab log cabin kit, but a solid building package you or your contractor can work with. Allow several weekends for 10–15 m².
Materials required
Order everything you need directly from our range.
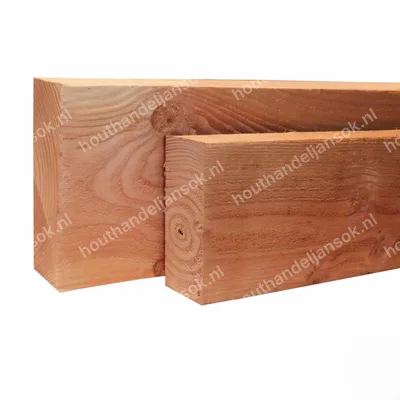
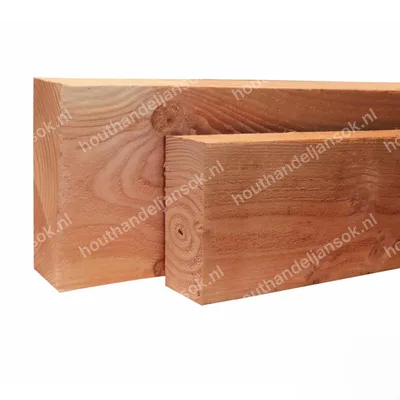
Douglas fir structural timber
Bekijk alle →
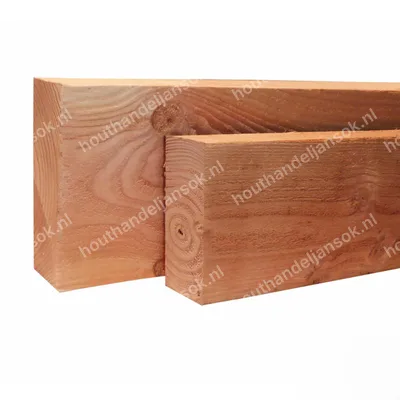
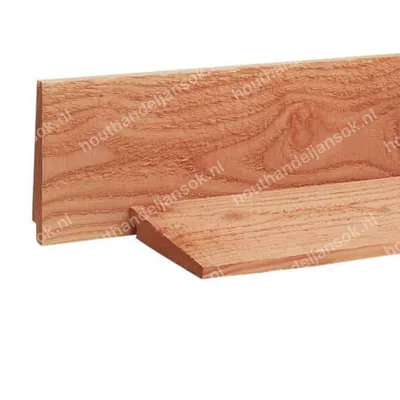
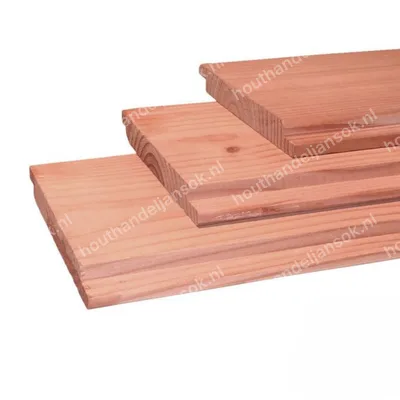
Cladding boards
Bekijk alle →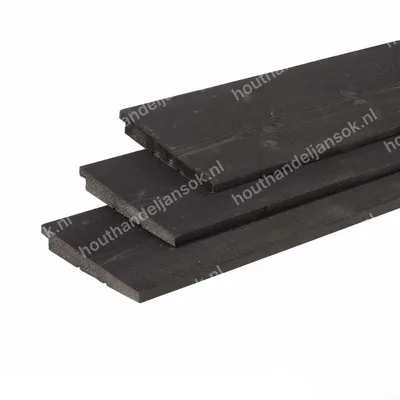
Zwart gespoten
27x195mm Douglas Zweeds Rabat Zwart Gedompeld (3,00m) – Werkende Breedte 18cm
[object Object]
vanaf
€ 13,35
Pressure-treated timber
Bekijk alle →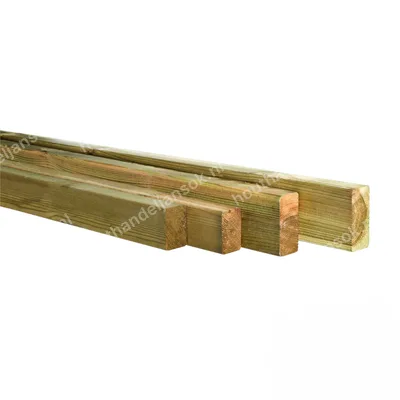
Geïmpregneerd
50x150mm Geïmpregneerde Fijnbezaagde Grenen Balk (3,00m)
[object Object]
vanaf
€ 15,85
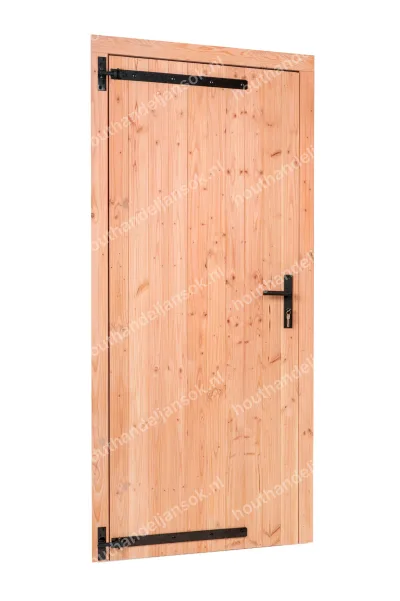
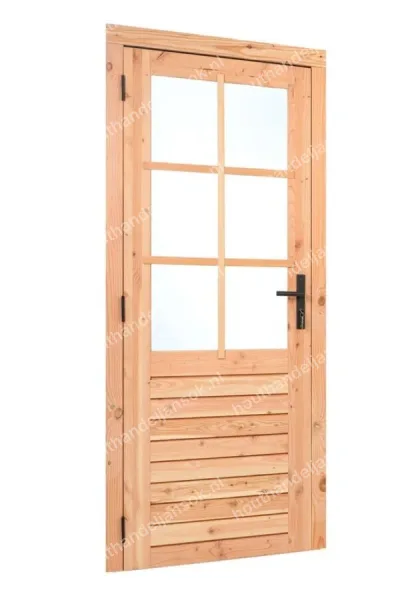
Garden room packages
Bekijk alle →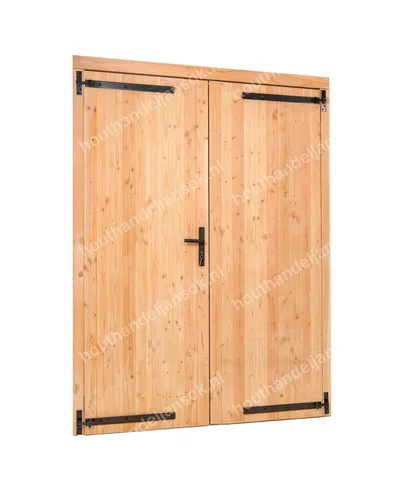
Step-by-step guide
Decide the function and check permits before you set the foundation.
0
Function, design and permits
Decide on use: storage only, hobby room, or garden room with insulation and electrics. That determines floor, wall build-up, windows and roof.
Dimensions: up to 15 m² in the rear plot is often permit-free, with rules on height and distance to the boundary. Above that or for habitation/recreation: permit more often required. Check the Omgevingsloket and any homeowners' association.
Floor plan: draw door (swing direction), windows, any loft/mezzanine and location of electrics. Account for access from the house and rainwater drainage.
We do not supply a prefab log cabin kit, but cutting service and structural timber/cladding so you build a real timber frame or studwork structure. Send a sketch and desired m² for a materials package.
1
Ground and foundation
A garden room on loose paving tiles will sink out of level — start with a flat, load-bearing base.
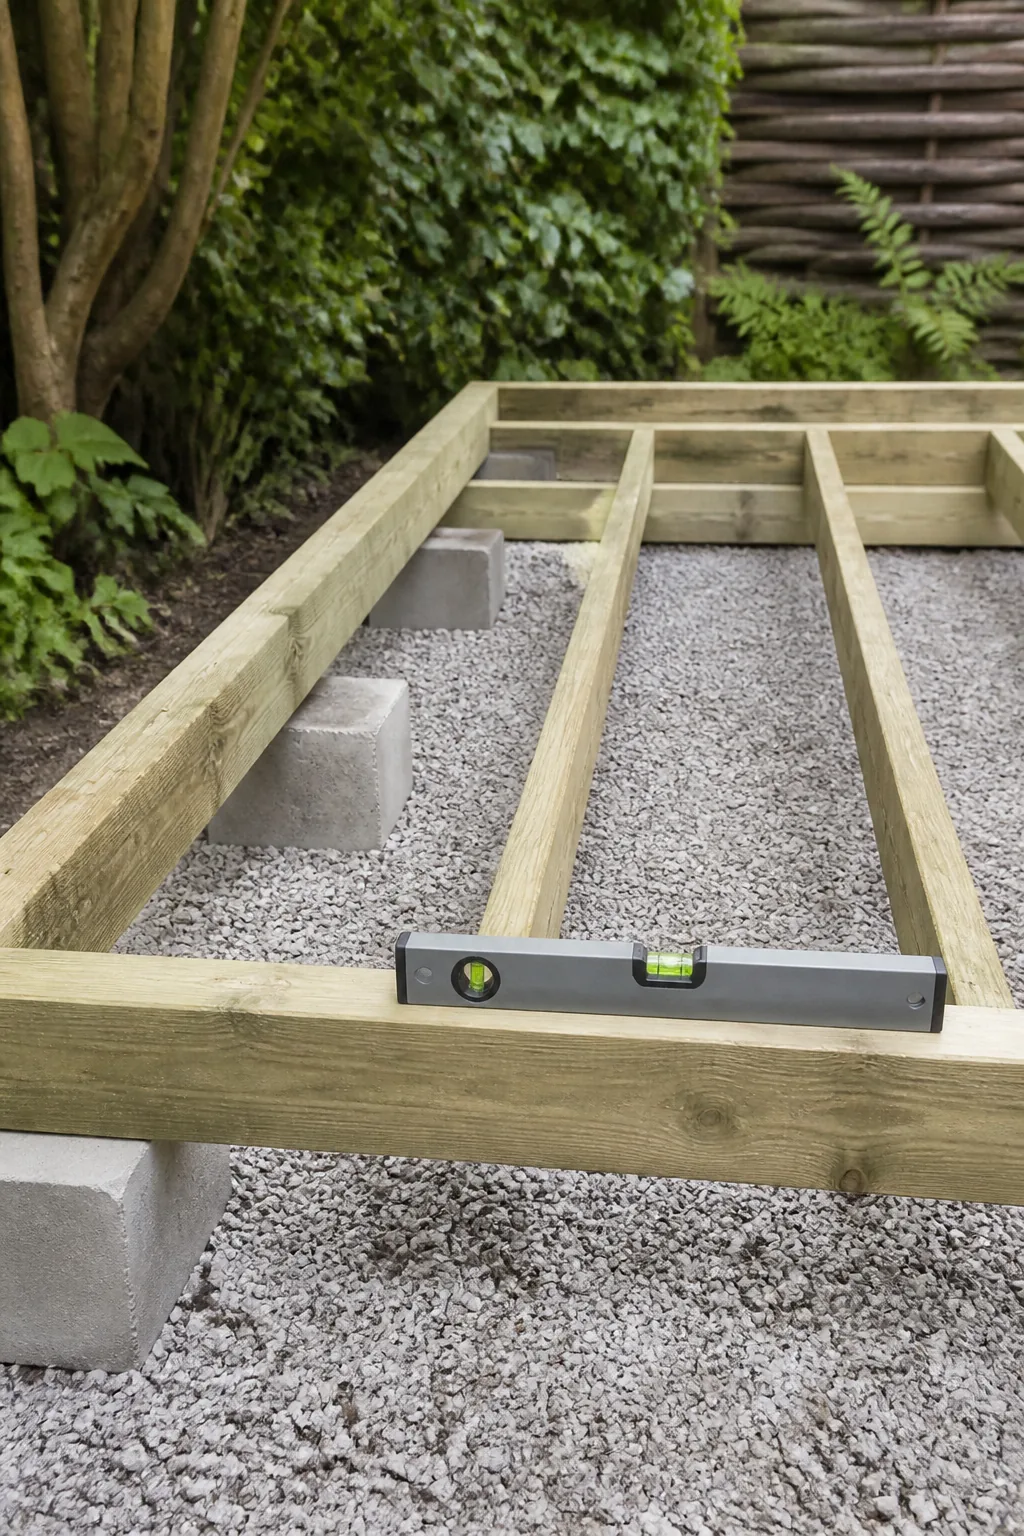
Options: concrete blocks or pad blocks on stabilised sand (light storage), concrete piers with beam frame, or a poured slab (heaviest, most stable option for a garden room).
Height: floor preferably ± 10–15 cm above ground level so splash water does not keep the sole plate wet. Lay weed-control membrane and gravel around against weeds.
Floor joists: pressure-treated timber, centre-to-centre 40–60 cm, level. For an insulated garden room: insulation between joists, vapour barrier on the warm side according to build-up, and floor boards or panel on top.
KLIC when digging. Lay electrical feed and any water supply now.
2
Floor and ground-floor frame
Mount floor joists square (diagonals equal) and screw or bolt the connections. Lay floor boards or panels only when the frame is wind-dry and level.
Sole plate/wall plate: use pressure-treated timber on a damp course or foil so rising moisture does not enter the frame. Anchor the substructure to piers or slab.
Check before walls: everything plumb, square, and at the correct external dimensions. Mistakes here multiply in every window opening.
3
Walls: frame, cladding and openings
Erect studwork (timber frame): corner studs, intermediate studs, lintels above doors and windows. Centre-to-centre often 60 cm. Brace temporarily with props until the wall is fixed in the roof.
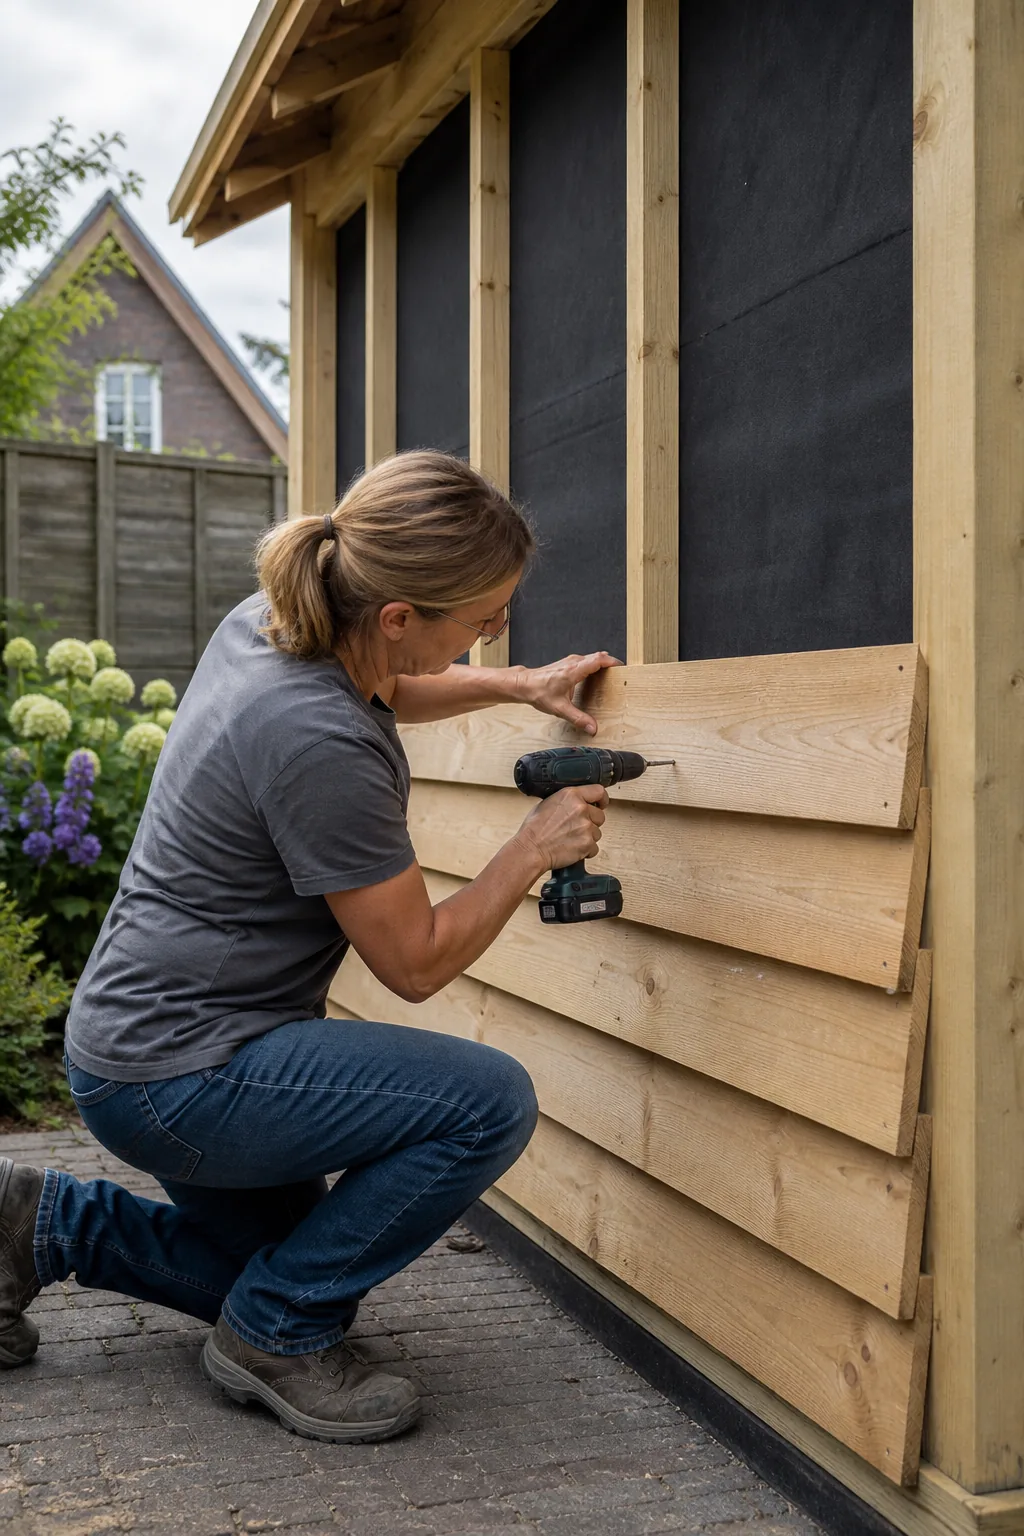
Cladding: weatherboards, channel siding or log-cabin profile horizontal or vertical. Start at the bottom with a level starter profile; overlap according to profile so water drips outward. Fix with stainless; keep ventilation cavity behind cladding for an insulated wall.
Windows and doors: set frames plumb and level, wedge firm, foam or seal according to type, and finish drip profiles so water does not run inward. Storage: one sturdy door may be enough; garden room: think about daylight and shading.
Insulation (optional): mineral wool or wood fibre between studs, vapour barrier on the inside, vapour-open or correct foil on the outside according to the chosen build-up.
4
Roof, gutter and weatherproofing
Roof form: mono-pitch (simple, economical), gable (classic) or flat with EPDM. Rafters or purlins at the correct spacing, firmly anchored to the wall plate.
Roof decking + EPDM, or roof shingles/tiles on battens — depending on pitch and appearance. Build ridge, overhang and barge boards neatly; they determine whether the building looks "finished".
Rainwater: gutter and downpipe to gully or rain barrel. Without drainage, fascia boards and sole plates rot first.
Weatherproof: check all junctions wall-roof, frame-cladding and floor-wall. Seal only where appropriate; do not rely on sealant instead of a drip profile or overlap.
5
Finishing, electrics and maintenance
Treat Douglas fir/cladding on all sides you can still reach; end grain extra. Inside: optional battens, insulation and lining.
Electrics and lighting: have fixed circuit connections done by a qualified person. Outdoor lighting and an earthed socket turn a shed into a workshop.
Maintenance: annually check hinges and locks, clean gutter, touch up stain/oil where weather hits the timber. Ventilate an insulated garden room — stagnant moisture is harmful.
Mistakes we often see: no real foundation, cladding without overlap/ventilation, flat roof without fall, frames set out of square (doors bind), and checking permits only when the frame is already up.
Send function (storage or garden room), desired m² and a photo of the site. We'll put together a timber package with cladding, beams and fixing advice.
Tools
Gather everything before you start - a mid-job hardware-store run costs half a day.
Tape measure, spirit level, plumb bob and square
Spade, wheelbarrow and concrete/quick-set concrete
Cordless drill, drill and bit set
Circular saw, hand saw and mitre box or chop saw
Hammers, crowbar and stapler (foil)
Ladder or rolling scaffold
Props and bar clamps
Stainless screws and anchor bolts
Sealant gun and suitable sealant
Work gloves, glasses and hearing protection
Dust mask when sawing and insulating
Gutter materials and downpipe
The five mistakes we see most
01
Garden room on loose paving tiles without flat, load-bearing foundation.
02
Cladding without overlap or ventilation — moisture behind the facade.
03
Flat roof without fall or without gutter.
04
Frames set out of square: doors bind.
05
Checking permit or boundary only when the frame is already up.
Frequently asked questions
Do I need a permit for a garden room?
Up to approximately 15 m² in the rear plot is often permit-free, with requirements on height and distance to the boundary. For larger or heated garden rooms always check the Omgevingsloket.
Do you supply ready-made log cabins?
No. We supply structural timber, cladding and custom timber packages with which you or your contractor build a solid garden room — not a thin prefab log cabin kit.
Can I insulate a garden room?
Yes. Choose a timber frame with insulation between studs, correct membranes and an insulated floor. Ideal as a hobby room or garden room; for storage only, insulation is usually not needed.
Which foundation is best?
For light storage: concrete blocks or piers on stabilised sand. For a garden room: piers with beam frame or a poured slab. Always above ground level and level.
How long does building take?
For 10–15 m² with two people: often 3–5 weekends, depending on foundation, insulation and roof type. Timber cut to size saves a lot of time.
What does a timber garden room cost per m²?
Roughly €200–€450 per m² for the timber package, depending on size, cladding choice and whether you insulate. Ask for a quote with a sketch for an exact price.
Browse related products
Need help with your project?
Our timber specialists are happy to help. Request a no-obligation quote or call us directly.